Summary:
Using the Full Site Editor, how do you create new templates for use with some or all of your WordPress posts? How do you associate one – or many – posts with a particular template? Which template is used by default when you create a new post? While not a definitive guide, you’ll find a few notes here to help get you started.
This article only discusses templates as used in the newer block themes that fully support the Gutenberg editor. If you’re looking for help with templates in the classic editor or with template files of type .php, then regrettably this article isn’t going to help you. However, you may find this helpful: https://developer.wordpress.org/themes/basics/template-hierarchy/
Which template is used for new posts?
With every theme, there should always be a default template for posts called ‘Single Posts‘. Thus, when using WordPress straight from the box (or at least when you’ve just activated a new theme) you would expect all new posts to automatically select this template as their default. There doesn’t appear to be a way to assign a particular user-defined template as the default for new posts. Instead, WordPress has built-in rules it uses to select the default template – these are based primarily on the template’s name. A hierarchy exists for template selection with ‘Single Posts‘ as the last choice when nothing else is found. If you create a new template called ‘Single item: Post‘ as explained below, it will take precedence in the hierarchy and become the default template for all new posts. You can also manually re-assign the template setting on any post to force a particular post to use a particular template – I’ll explain the process later in this article.
Creating a new Template
In the Full Site Editor, there are a couple of ways you can create a new template suitable for WordPress posts:
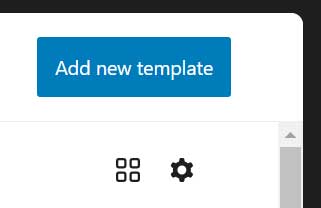
- Select “Add new template” directly from the Templates editor screen
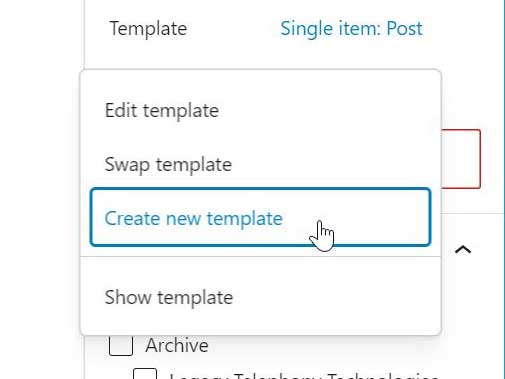
- Select “Create new template” from the dropdown list for the template setting of a post you are editing
Creating a default template for new posts
Using method 1 above, you can create another default template which trumps the theme’s default template. Your one, if it exists, is called ‘Single item: Post’. Once created, every new post you add will automatically select the new template.
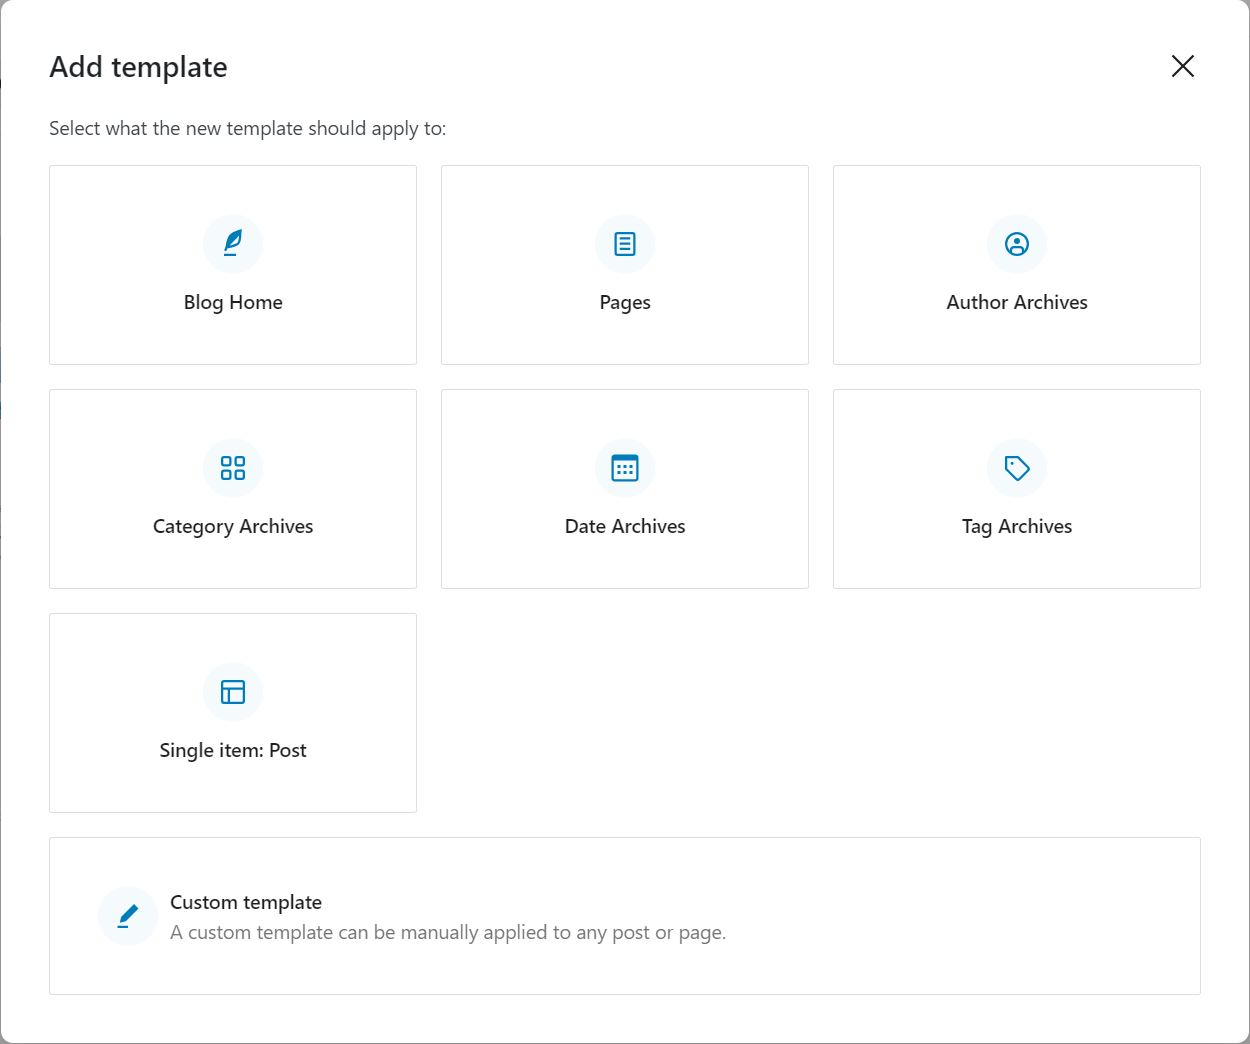
Using method 1, you should choose ‘Single item: Post‘. (We will be looking at the ‘Custom template‘ option later).

When you select the option ‘Single item: Post’, you will be asked if it is to apply to all posts or to a particular post. Note: You won’t get this choice if a template has been previously created for “All Posts”.
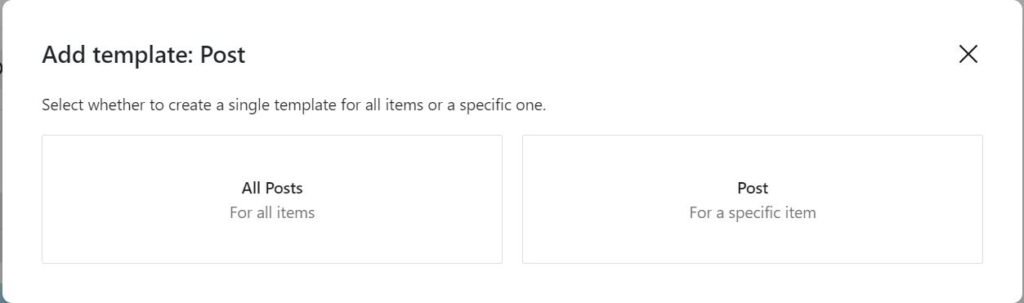
Creating a new template for all post items is very useful if you want all future posts to use it by default. Note: The other option shown above, creating a template for a specific post item is, in my opinion, not very useful. Custom templates are more useful because they can be re-used. I will therefore not be discussing that option at all.
Having your own default template for posts is all very well, but what if there are exceptions that should use a completely different template? Well, that’s where you can use a custom template.
Creating a custom template for specific posts
Just before we look at how to create a custom template, please let me just remind you that there may be other ways to individually tailor the appearance of your posts. Consider the use of filter hooks, code snippets, short codes and custom CSS. All of these can be leveraged to alter the appearance of a post or to insert extra elements (such as adverts) within a post. Hooks and code snippets make use of PHP code so you can easily add logic to change how they behave according to the category, age, author or many other properties of the post.
Custom templates can exist alongside the default templates and you can have as many as you like provided each has its own unique name. To use a custom template for some posts, you have to edit the post settings and tell it to use your custom template by selecting ‘Swap template‘ from the dropdown. That same dropdown includes the option to ‘Create new template‘, referred to as method 2 above, which is what you would have to do if the template doesn’t already exist. There is also an option to create a ‘Custom template‘ when you are using method 1.
Using method 2, you will only be presented with the option to create a “Custom Template”. The only difference from method 1 is that the post you are editing will immediately be set to use the new custom template.
Changing the template for multiple posts
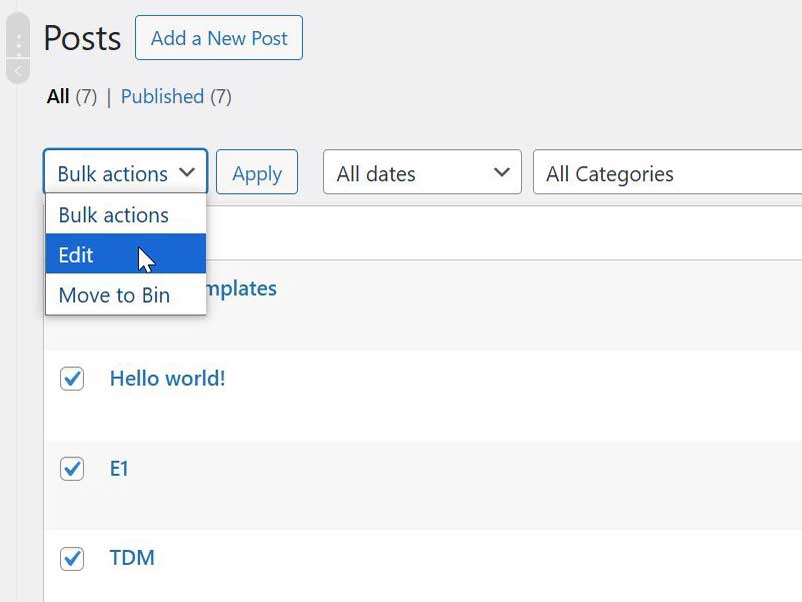
Custom templates are a good choice if you want to manually assign templates to each post. Manually changing the template for a large number of posts may sound like quite a chore, but it’s not as bad as it sounds provided you make use of the “Edit” bulk action available when viewing all your posts from the admin dashboard. Just tick the selector checkbox next to every post that you want to change, then select Edit from the dropdown and click Apply. The rest should be fairly obvious. You might want to use the date or category filters first, so the list of posts isn’t too cluttered.
How do you clone an existing template?
If you want to make changes to the Single Posts template, it is probably best to clone it first so you have a backup. You could clone it to a new default template or clone it to a custom template, giving it a meaningful name. If you do the latter, new posts will still use the original by default so you’ll need to change your post’s template every time you create a new post or do a bulk edit change at the end.
I didn’t want to make changes to the Single Posts template that came with the theme in case it got overwritten the next time the theme is updated. You can clone templates fairly easily. First, open the source template in the Site Editor and then switch from “Visual Editor” to “Code Editor”. Select all the text in the code editor window of the source template and paste it into the code editor window of the new template (after clearing the existing content in the new template).
Using this method you could create a new template called “Single Posts with Sidebar”. Put the content group inside a new block of type Columns and set the number of columns to 2. The widths are set as a percentage – I suggest trying 70% for the content and 26% for the sidebar (on the right). This works quite well with the Visionly theme.
Leave a Reply